
Every turnover comes down to three things: a pre-clean inspection with photos, a room-by-room pass that leaves nothing to guesswork, and a final photo log before you release the listing. Follow Airbnb's own five-step framework, prepare, clean, sanitise, check, reset, and start laundry the moment you arrive, since drying time is what actually delays most check-ins, not the cleaning itself.
TL;DR:
- A pre-clean inspection with photos is essential to identify damages and ensure accountability before starting any cleaning process.
- Consistent, room-by-room checklists should be followed every time to avoid missed tasks that can lead to negative reviews or disputes.
- Laundry should begin immediately upon arrival, prioritizing bedding and towels, to prevent delays in guest check-in especially during drying times.
- Final walkthroughs with timestamped photos and thorough odor checks are crucial for resolving disputes and confirming the property is guest-ready.
- Outsourcing turnarounds to professional services can save time, ensure compliance with safety standards, and provide documented proof of cleaning quality.
Table of Contents
- What you need before you start the airbnb cleaning checklist
- The room-by-room airbnb turnover checklist
- How do you manage laundry without delaying check-in?
- What goes in the final guest-ready inspection?
- How often should you deep clean an Airbnb?
- Common mistakes hosts make with turnover cleaning
- Is your checklist aligned with platform safety standards?
- Handling guest belongings during a turnover
- Why photo proof changes how disputes get resolved
- Book your next professional turnover with Book My Cleaning
- Where to check the official guidance
- Sources
- FAQ
What you need before you start the airbnb cleaning checklist
A turnover falls apart when someone has to stop halfway through to find a mop or a spare pillowcase. Build a kit that lives at the property permanently, not one your cleaner carries from job to job, because a missing item mid-clean costs more time than restocking it ever will.
Your standing supplies list should cover:
- A multi-surface disinfectant cleaner that meets the manufacturer's stated contact time, not just a quick wipe
- Glass and mirror cleaner, plus a separate multi-surface spray for kitchens and living areas
- Colour-coded microfibre cloths, one set for bathrooms and a different set for kitchens, to stop cross-contamination between the two
- A vacuum with upholstery and crevice attachments, and a mop with separate heads for wet and dry floors
- Disposable gloves, bin liners, and a stocked first pass of guest consumables (loo roll, soap, dishwasher tablets)
Before any cleaning starts, walk the property with a phone camera. Photograph anything broken, stained, or missing, empty every bin, and strip out anything the previous guest left behind. This pre-clean inspection is also where you check the property against the previous checklist for wear and maintenance issues, so problems get flagged before a new guest finds them.
Whatever system you use, whether a paper sheet or an app, build in fields for the cleaner's name, a timestamp, photo uploads per room, and a tick box for each completed task. That record becomes your evidence if a guest ever disputes the state of the property at check-in.
The room-by-room airbnb turnover checklist
Work through the property in a fixed order every single time. Consistency here matters more than speed, because a cleaner who works from memory will eventually skip something, usually the thing that ends up in a bad review.
1. Kitchen
Wipe every counter and the hob first, since food residue left too long is harder to shift. Check inside the microwave and oven, clean visible appliance interiors, and don't skip the fridge, both for cleanliness and to confirm nothing was left behind by the last guest. Run the dishwasher if it wasn't started on arrival, then check door seals on the fridge and dishwasher for mould or crumbs, a detail hosts miss constantly and one that shows up repeatedly in guest complaints. Restock dish soap, sponges, and any consumables you've advertised as included.
2. Bathrooms
Disinfect the toilet inside and out, then move to basins and taps. Remove hair from drains and floors before you mop, not after, since mopping over loose hair just smears it. Clean mirrors and glass last so streaks show up clearly. Mop from the far corner towards the exit so you never walk back over a wet floor. Restock toiletries, hand soap, and leave a spare toilet roll visible, not just in a cupboard.
3. Bedrooms
Strip every bed completely and check the mattress protector for stains before it goes back on. Vacuum mattress edges and under the bed frame, areas that collect dust and crumbs no one checks weekly. Make beds hotel-style, with corners tucked and pillows fluffed rather than just thrown into cases. Open wardrobes and drawers to check for anything left behind and to confirm hangers and storage are tidy.

4. Living areas
Dust top to bottom, starting with shelves and light fixtures and finishing with skirting boards, so you're not sending dust onto surfaces you've already cleaned. Wipe remote controls, light switches, and door handles, the surfaces guests touch most and clean least. Vacuum upholstery, including under cushions, then reset furniture to its original layout using reference photos if the room gets rearranged often.
5. Outdoor and utility areas
Sweep patios and entryways, and check bins are emptied and lids are clean, not just the contents removed. If there's a barbecue or grill, check it's free of old grease before the next guest finds it. Clear pathways of any trip hazards and tidy the entry point so the first thing a guest sees matches the listing photos.
Practical order matters as much as the task list itself. Ventilate rooms where you can, tackle anything that needs to dwell time (limescale removers, oven cleaner) early so the product works while you handle other rooms, then clean top to bottom and finish with floors last so you're never walking on a surface you've just cleaned.

How do you manage laundry without delaying check-in?
Laundry is the single biggest bottleneck in a turnover, and it's almost always avoidable. Start the wash cycle the moment you arrive, before you touch a cloth or a vacuum, prioritising bed linen and towels since they take longest to dry and are non-negotiable for check-in.
- Load bedding and towels first; save smaller items like tea towels for a second cycle if time allows
- Keep a spare set of linen for every bed in the property, so a slow dryer never holds up the whole clean
- Bag dirty linen without shaking it out, to avoid spreading dust or allergens through the room
- Store clean and dirty linen completely separately, ideally in different cupboards or bags
- Check linen for stains or tears before it goes back into rotation, and retire anything damaged rather than reusing it
Pro Tip: Keeping one full spare set per bed, not per property, means a stuck dryer cycle never blocks your next guest. It's the cheapest insurance against a late check-in you'll ever buy.
What goes in the final guest-ready inspection?
The final walkthrough is where small oversights get caught before a guest does. Run through the property one last time with fresh eyes, ideally not the same eyes that just cleaned it, checking for smells first since odour is the fastest way to lose a five-star review before a guest even unpacks.
- Sniff test each room, particularly bathrooms and kitchens, for lingering odours
- Check floors and surfaces for stray hair, especially bathrooms and bedrooms
- Run taps and test hot water, and switch on major appliances to confirm they work
- Confirm all windows and doors lock properly, and that keys or key codes are ready
- Set the thermostat to a sensible default temperature for arrival
Photograph every room at this stage, timestamped and labelled with the cleaner's name, and upload them to your booking record. Photo proof paired with a completion log is what actually resolves disputes, since most platforms give guests a short reporting window, often around 72 hours, to flag cleanliness issues after check-in. A dated, timestamped photo taken before the guest arrived is the fastest way to close that dispute in your favour.
How often should you deep clean an Airbnb?
Three cadences cover everything a short-term rental needs: turnover cleans after every single stay, periodic deep cleans, and seasonal resets before your busiest booking months. Lodgify recommends spacing deep cleans roughly every three to six months, depending on how frequently the property turns over.
- Turnover clean: every stay, using the room-by-room checklist above
- Deep clean: every 3–6 months, covering grout, appliance interiors, mattress and upholstery deep cleaning, window frames, and behind large appliances
- Seasonal/annual reset: before peak season, covering things a turnover clean never touches, like filter changes, gutter checks, and alarm testing
Log every deep clean with a date, and where possible, schedule them during your quietest booking weeks rather than squeezing them in between guests. A deep cleaning service booked during a slow month costs you nothing in lost revenue and saves you from a last-minute scramble before a big weekend.
Common mistakes hosts make with turnover cleaning
Most negative reviews trace back to the same handful of oversights, not a catastrophic failure. Getting these right consistently matters more than any single deep clean.
- Cleaning before starting laundry, which adds 30 to 60 minutes of dead time to every turnover
- Skipping the fridge check, leaving old food or a guest's forgotten shopping behind
- Forgetting to vacuum under beds and sofas, where crumbs and dust collect fastest
- Running out of disposable basics like loo roll or dishwasher tablets because restocking isn't on the checklist itself
- Using the same cloth for kitchen and bathroom surfaces, which risks cross-contamination between the two
Pro Tip: Keep a small "reset kit" per property, a welcome note, spare loo roll, and basic toiletries, permanently stored on-site. It means staging the final look never depends on whoever's cleaning that day remembering to bring extras.
Is your checklist aligned with platform safety standards?
A checklist that ignores safety isn't a checklist, it's a liability. Airbnb's own guidance treats smoke alarms, blocked exits, and pest or mould issues as host obligations, not optional extras, so build a safety pass into every turnover rather than saving it for an annual inspection.
- Test smoke and carbon monoxide alarms on a fixed schedule, not just when you remember
- Check for trip hazards, loose rugs, trailing cables, or blocked exits, on every visit
- Follow Airbnb's five-step framework, prepare, clean, sanitise, check, reset, as the backbone of your own SOP
- Consider a professional service when you're managing multiple properties, running short on time, or need a guaranteed standard you can point to if a guest complains
Book My Cleaning's end of tenancy cleaning checklist follows a similar structure, and it's worth referencing if you want a template built around inspection and proof rather than a generic room list.
Handling guest belongings during a turnover
Guests forget things constantly, chargers, jewellery, prescription medication, and how you handle those items says more about your hosting standard than almost anything else on this checklist. Treat every forgotten item as if it belongs to someone you'll see again, because in a competitive market, you often will.
Photograph anything found before you move it, note which room it came from, and log the date. This protects you if a guest later disputes what was or wasn't left behind, and it gives you a clean record if the item needs posting back. Store found items in a labelled box away from cleaning supplies, never in a bin bag with rubbish, since that's the fastest way for something valuable to get thrown out by mistake.

Message the guest promptly once you've found something, rather than waiting for them to ask. Most platforms expect hosts to make a reasonable effort to return items, and a quick, polite message costs you nothing but often earns a better review than the stay itself did. Never search personal belongings beyond what's needed to confirm ownership, and never remove or use anything a guest has left, even if it looks abandoned.
If an item raises safety concerns, damaged electronics, unidentified medication, or anything that looks unsafe to store, don't attempt to clean or repair it yourself. Set it aside, photograph it, and contact the guest or the platform for guidance before deciding what to do next.
Why photo proof changes how disputes get resolved
Hosts who skip photo documentation are the ones who lose disputes, not because their cleaning was worse, but because they can't prove it wasn't. A timestamped photo log turns "the cleaner says it was done" into evidence a platform can actually act on.
Standardise the checklist across every property and every cleaner you use, then train new cleaners against your own reference photos rather than a verbal briefing. It takes an hour, once, and saves you from re-explaining your standards every time someone new starts. Revisit the checklist itself after any guest complaint, since that's usually the moment you find the gap nobody noticed.
— Book
Book your next professional turnover with Book My Cleaning
Running the checklist above yourself works, but it takes time you might not have, especially if you're managing more than one listing. Bookmycleaning offers fixed-price domestic cleaning and deep cleaning across England, with prices shown online before you book and no hidden add-ons once the cleaner arrives.
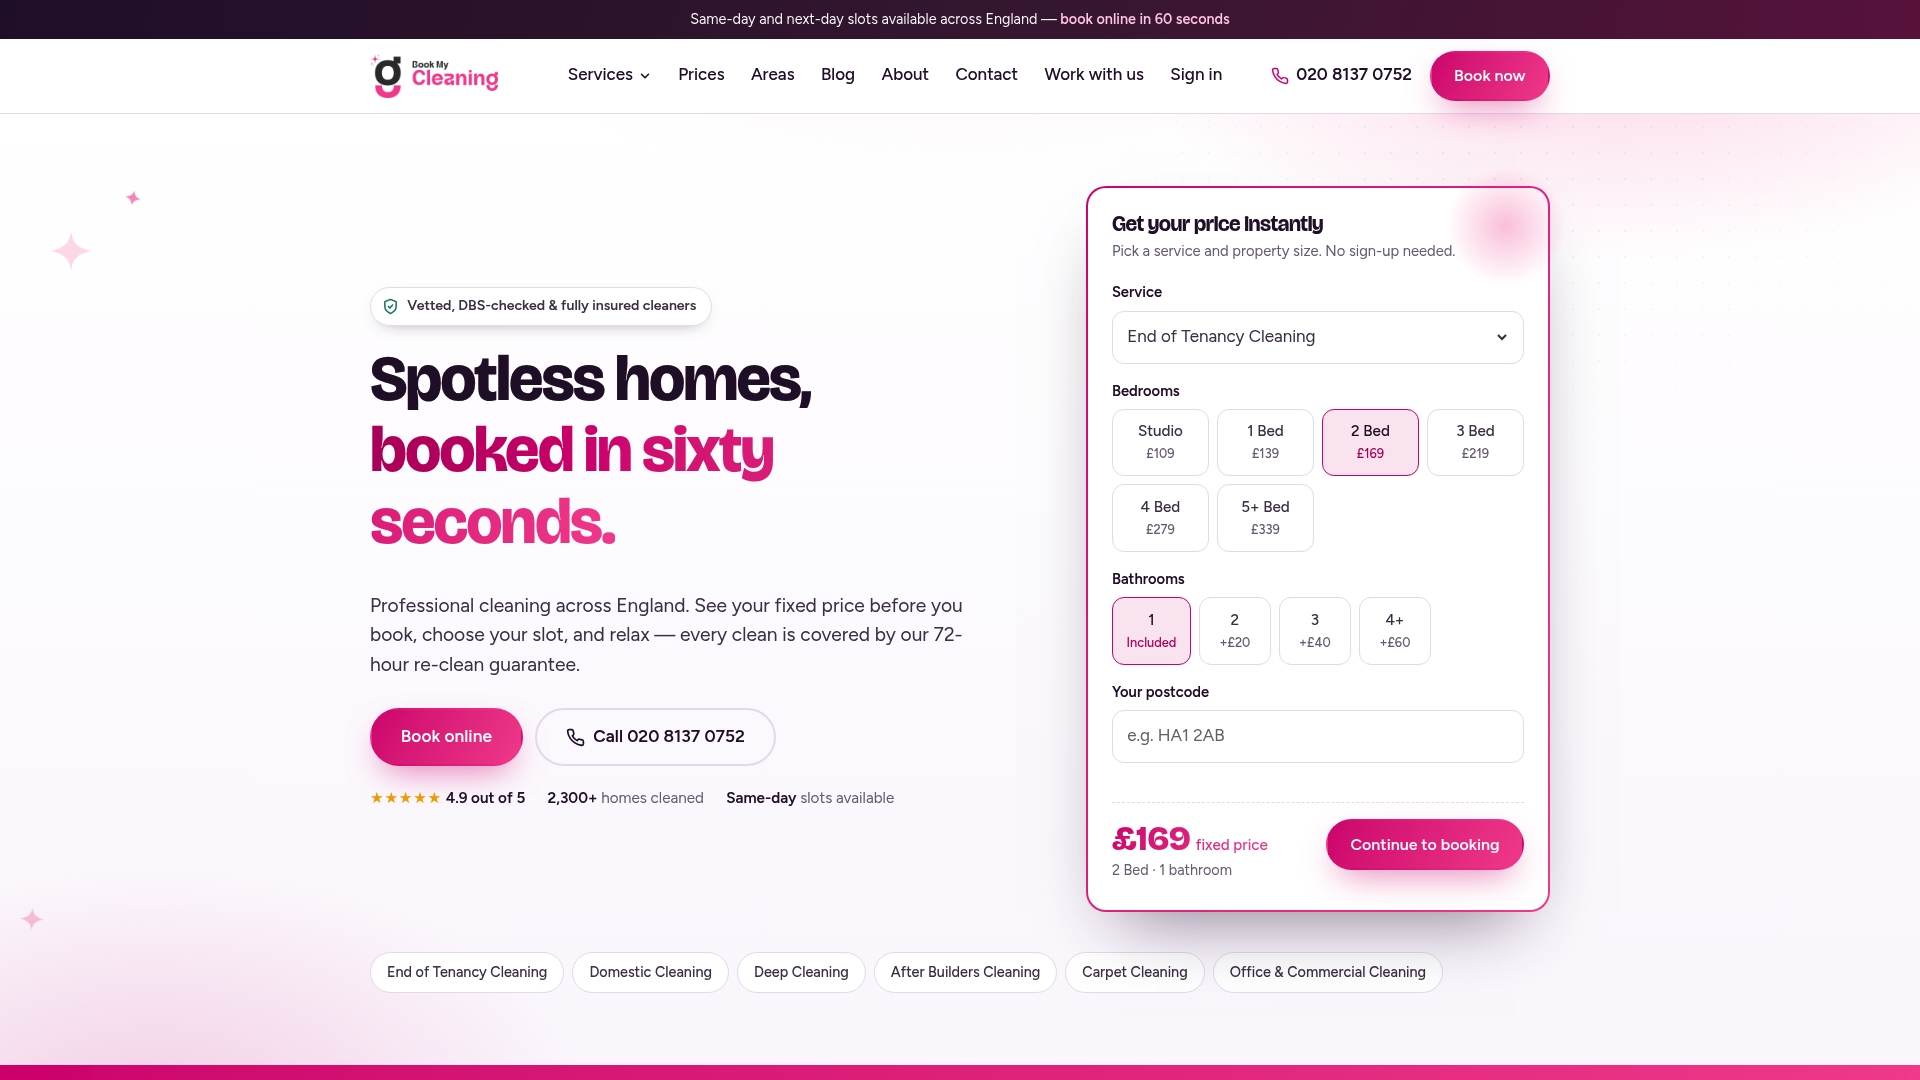
Every clean comes with DBS-checked, uniformed cleaners and a 72-hour re-clean guarantee if the standard falls short, backed by a 4.9-star rating from more than 2,300 completed cleans. That's the same accountability this checklist is built around: proof of standard, not just a promise of one. Domestic cleaning and deep cleaning services are bookable online with pricing details available on the website. Check availability and book your next turnover directly through Bookmycleaning.
Where to check the official guidance
- Airbnb's own cleaning and safety guidance sets the platform baseline every host is expected to follow
- PrepBnB's checklist template shows how professional operators structure timescales and photo proof
- For furniture affected by pests, safe disposal guidance covers what to do before it ever reaches a bedroom checklist
Sources
- Airbnb help centre: What cleaning steps should hosts follow?
- PrepBnB: The complete Airbnb cleaning checklist
- Lodgify: Cleaning checklist guide
- HomeProtect: Changeover checklist for holiday homes
FAQ
What must an Airbnb cleaning checklist include?
At minimum, it needs a pre-clean inspection with photos, a room-by-room task list covering kitchen, bathrooms, bedrooms, living areas and outdoor spaces, and a final photo log tied to a timestamp and cleaner name. Airbnb's own five-step framework, prepare, clean, sanitise, check, reset, is the simplest structure to build it around.
What is the 80/20 rule in Airbnb hosting?
Fixing those few high-impact areas first, rather than chasing every small detail, tends to move your reviews the most.
Is there a free PDF checklist for Airbnb cleaning?
Several professional templates are available free online, including PrepBnB's checklist guide and Lodgify's cleaning checklist, both structured around room-by-room tasks and completion tracking. Adapt any template to your specific property rather than using it unedited, since features like hot tubs or fireplaces need their own line items.
What is the 6/10 rule for cleaning a house?
Definitions of this rule vary and it isn't a standard hosting term, but the general idea some cleaners use is spending roughly six minutes on quick daily maintenance tasks for every ten minutes spent on deeper cleaning. For Airbnb turnovers specifically, it's more reliable to follow a fixed room-by-room sequence than a time ratio, since guest-readiness depends on completeness, not speed.